Build a restaurant roster from required work to a reviewed draft
Start with required work, then add people. A small dinner-restaurant example shows the weekly role pattern, confirmed availability and a gap the manager must resolve.
Start with the work, not a row of staff names. Write down what must be covered before service, during the rush and after the last table leaves. Then match those jobs to people who are available and ready to do them.
The result is a draft you can explain: which role each person owns, where support comes from and what still needs a decision. Use the same approach whether your team calls it a schedule or a roster.
1. Identify service roles and shifts
Take next week’s bookings, opening times and recent service notes. For each day, mark preparation, service and closing. Add anything different: a group booking, a delivery or an event nearby. Ask the shift lead which jobs overlap; don’t assume one person can do two jobs just because both fit under their name.
For example, imagine a small dinner restaurant open Wednesday through Sunday. Monday and Tuesday are closed, with no work planned for this example. The owner expects a quieter Wednesday and Thursday and a busier Friday through Sunday. They choose the following starting coverage based on their menu, bookings and recent shifts—not a staffing ratio for other restaurants.
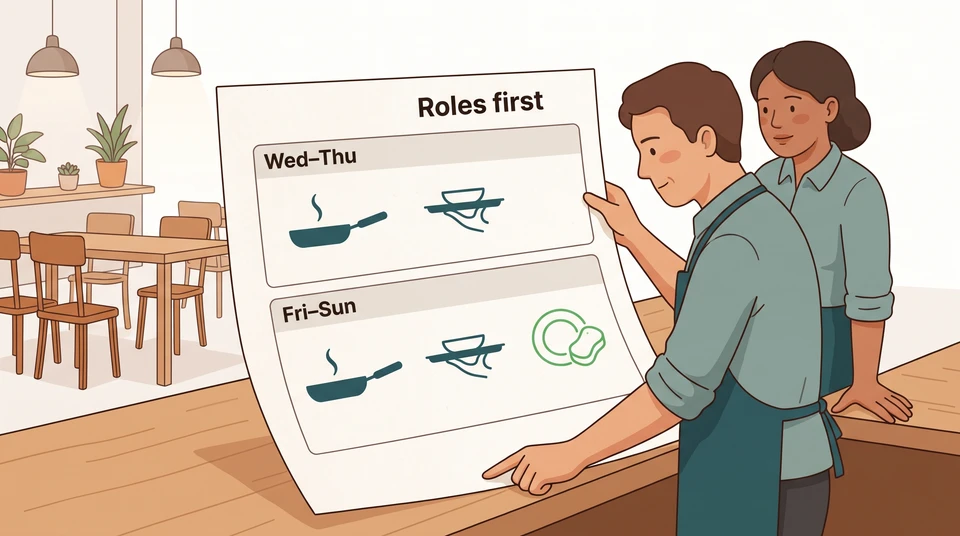
Wednesday and Thursday: the starting pattern
- Cook, 4–10 pm: preparation, dinner service and kitchen close.
- Floor, 4:30–10 pm: room setup, tables, guest payments and dining-room close.
- Owner/shift lead, 4–10 pm: oversee service, support the team and provide planned relief.
Friday, Saturday and Sunday: add the work that changes
Keep those same three roles and add dish support from 5–10 pm. In this example, the owner wants the cook focused on service rather than leaving the kitchen line to clear the wash-up backlog.
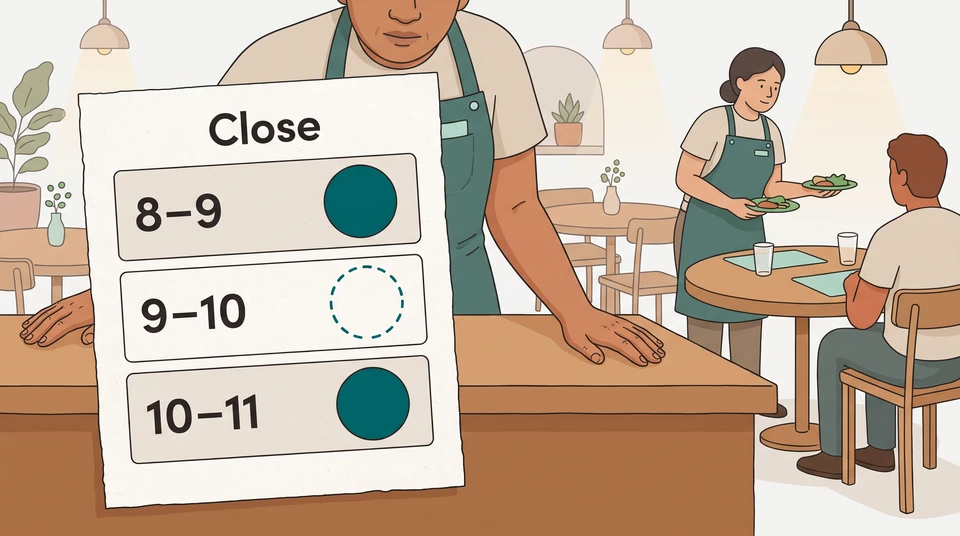
Guest service runs from 5–9 pm. Preparation and closing sit outside that window, so a schedule covering only opening hours would miss part of this example’s work. These are coverage windows, not a finished paid-hours calculation or break plan.
Write a short role note beside the pattern: “Floor owns guest payments and room close; cook owns kitchen close; dish support owns wash-up.” That makes the required work clear before you choose who does it. Before choosing names, check opening and closing work, expected customer flow and the mix of skills needed on each day.
2. Bring availability into view
Ask each team member to confirm the dates and times they can work for that particular week. Keep their availability separate from the jobs they can cover. Being free on Sunday does not tell you whether someone can run a station without help.
For our example, the manager has these planning notes:
- Alex can cover cook on Wednesday, Friday and Sunday, 4–10 pm.
- Jordan can cover cook on Thursday and Saturday, 4–10 pm. On Sunday, Jordan is available only from 5–8 pm and can cover dish support.
- Mia can cover floor on Wednesday, Thursday and Saturday, 4:30–10 pm.
- Sam can cover floor on Friday and Sunday, 4:30–10 pm.
- Lee can cover dish support on Friday and Saturday, 5–10 pm, but is unavailable Sunday.
- Pat, the owner, is available 4–10 pm each opening day and can cover the cook, floor and dish roles for relief. Pat cannot cover two stations at once.
For your own team, check the relevant onboarding and training notes with the person who supervised the work. A new starter still learning payments should have named support, not quietly become the only person responsible for the floor.
If someone hasn’t replied, write “availability unconfirmed.” Don’t turn last week’s pattern into this week’s promise. Keep personal reasons and private HR details out of the schedule you share with the team.
3. Assign suitable coverage
Fill the roles that have the fewest suitable, available people first. Then add the remaining assignments. Check each person against the whole day, not just one shift box.
Here’s the example week after matching the role pattern to the availability above. Read it one day at a time rather than squeezing seven columns onto a phone.
Monday and Tuesday
Closed. No shifts planned in this example.
Wednesday
Cook: Alex, 4–10 pm. Floor: Mia, 4:30–10 pm. Owner/shift lead: Pat, 4–10 pm.
Thursday
Cook: Jordan, 4–10 pm. Floor: Mia, 4:30–10 pm. Owner/shift lead: Pat, 4–10 pm.
Friday
Cook: Alex, 4–10 pm. Floor: Sam, 4:30–10 pm. Dish support: Lee, 5–10 pm. Owner/shift lead: Pat, 4–10 pm.
Saturday
Cook: Jordan, 4–10 pm. Floor: Mia, 4:30–10 pm. Dish support: Lee, 5–10 pm. Owner/shift lead: Pat, 4–10 pm.
Sunday
Cook: Alex, 4–10 pm. Floor: Sam, 4:30–10 pm. Dish support: Jordan, 5–8 pm; open, 8–10 pm. Owner/shift lead: Pat, 4–10 pm.
Make the tradeoff visible
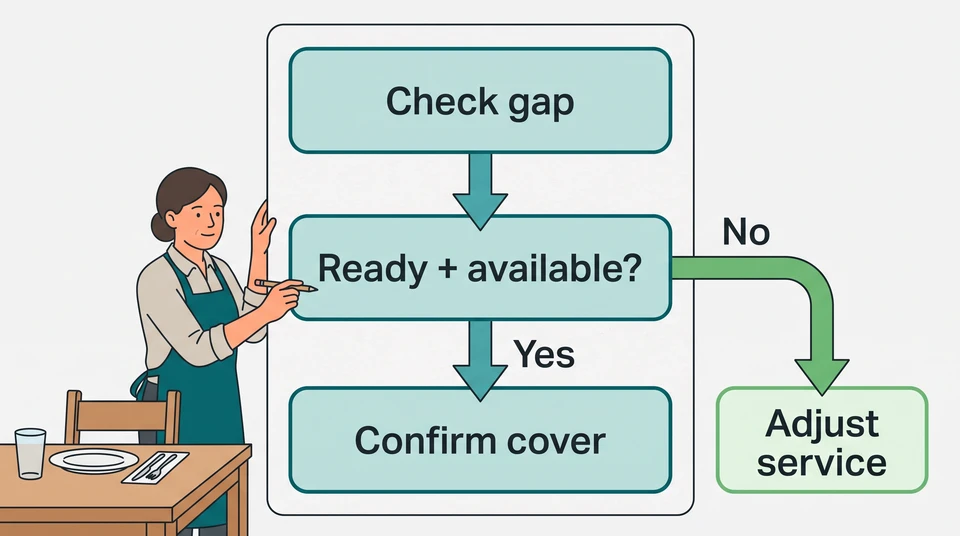
Sunday has a dish-support gap. Writing Pat into that box would remove the person set aside for relief and service support. It would not create another pair of hands.
Pat’s next action is to ask Dana, another team member already ready for dish support, whether they can cover Sunday 8–10 pm. Until Dana confirms, leave the gap open. If they cannot help, Pat needs a different workable plan—such as another suitable person or a smaller service plan checked against the remaining work. Don’t erase the role and keep the same workload by default.
The other days still need a relief plan. Before confirming the week, Pat should write down when each person steps away, who takes over their role and what Pat will stop doing during that cover. Test one absence at a time, including what happens if a guest issue needs the owner at the same moment. If the plan depends on Pat being in two places, change the assignments or service plan.
4. Review the draft, then share one clear schedule
Read the week twice: first by role, then by person. The role view shows uncovered work. The person view helps you spot overlapping assignments and a week that doesn’t match what someone agreed they could work.
Before you confirm it, check:
- Every preparation, service and closing job has a suitable owner.
- Availability is confirmed for the actual dates, including any partial shifts.
- Breaks and relief have specific cover; the same person is not counted twice.
- Planned hours and pay costs have been checked against the venue’s budget and each person’s applicable arrangements.
- You have checked the working-time, break, pay and schedule-notice requirements that apply to your venue and workers. For a US venue, use the relevant federal, state and local authorities; don’t import an Australian rule. For an Australian venue, check the applicable award or agreement and other relevant requirements. Fair Work’s roster guidance is a starting point, not a substitute for identifying what applies.
- Each unresolved item has a named person and a next action. Keep the schedule marked “Draft” until those decisions are settled.
Our example is a reviewed draft, not a schedule ready to send: Sunday dish support from 8–10 pm is still open, and Pat must finish the relief and applicable hours/pay checks. The useful outcome is knowing exactly what remains—not making every box look filled.
Once the checks are complete, the manager confirms the schedule and shares one authoritative version through the team’s agreed channel. Include the week-start date, version and where to find it. Ask people to acknowledge receipt and raise a mismatch directly with the manager; a read receipt is not confirmation that someone can work a shift.
For example:
The schedule for the week starting [date] is now confirmed, version 1. Find it at [location]. Please reply to confirm you’ve received it, and contact Pat if a shift doesn’t match your confirmed availability. Use this version rather than the earlier draft.
Keep later changes separate from building the first draft. For a change after release, use a clear availability-change process rather than silently editing an old copy.
Start with a free draft; keep manager review
Use paper, your existing spreadsheet or CrewCentral’s free schedule maker to put the week together. The browser tool is manual and saves your draft in that browser. You can edit, print and export CSV without an account or email; it does not generate an AI schedule, notify employees or provide shared cloud storage.
For a team workspace, explore CrewCentral Scheduling. An account adds AI-assisted roster drafts using availability, role skills and coverage. Managers review and adjust before publishing. Hiring, onboarding, training and scheduling belong together—but a draft still needs your decision about who can cover the work and what happens when they step away.